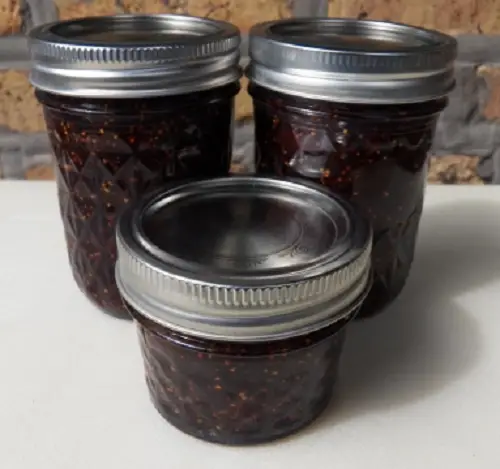
Fig Preserves with Balsamic Vinegar and Black Pepper Recipe
Fig Preserves with Balsamic Vinegar and Black Pepper Recipe

Fig Preserves with Balsamic Vinegar and Black Pepper Recipe
yield: 5 – 6 cups
Ingredients
-
4 – 5 cups fresh Mission figs, prepped & chopped (about 3 lbs.)
-
3 cups sugar
-
½ cup water
-
1 tsp butter (optional)
-
pinch of salt
-
⅔ cup balsamic vinegar
-
¼ cup lemon juice
-
1 tbsp cracked black pepper
Directions
To Prepare
-
Sterilize the jars and wash the jar lids and rings in hot, soapy water. Place lids and rings in a deep bowl and pour near-boiling water over them.
-
Start bringing to boil a large, deep canning kettle of water to be used for the canning process and a second, smaller pot of water to be used to replenish water that may boil away during the canning process.
-
Trim stem and bottom of each fig before chopping. When finished, use a potato masher to smash them.
To Make the Jam
-
Place a small plate in the freezer. Place the figs, sugar, and water into a sauce pan over high heat and bring to a boil. Reduce heat to medium, add the salt, optional butter, and stir occasionally until a rolling boil is achieved. (A rolling boil is one that cannot be stirred away. Using a candy thermometer, that’s about 220˚F (104˚ C).)
-
Once a rolling boil has been achieved, place a small amount of the fig mixture on the now frozen plate. Once the cooked figs have returned to room temperature, check to see if it is jam-like. If too runny, continue cooking for 10 minutes and test again. When the right consistency is achieved, remove from heat and continue to the next step.
-
With a large spoon, carefully skim the surface to remove any foam.
-
Add the balsamic, black pepper, and lemon juice. Stir well to thoroughly combine.
To Preserve
-
Using a funnel and large ladle, fill each jar to ¼ inch from the rim. Wipe the rim to make sure no jam has spilt, place a lid on each jar, and then the ring, tightening until “finger tight” but not as tight as you can make it. Act quickly, filling and capping all the jars.
-
Jars placed directly on the kettle’s bottom might burst, so, a rack of some sort must be put into the canning kettle to cover the bottom. Many large pots have one, as do many pressure cookers.
-
Keep each jar level as you place them, one by one, into the canning kettle filled with now boiling water. The jars should not touch each other, nor should they be allowed to tip over. Depending upon the size of the kettle and number of jars, you may need to work in batches.
-
Once the jars are in the kettle, make sure that there is at least one inch of water over the top of the tallest jar(s). If not, add boiling water from the smaller pot mentioned in Step 2 of To Prepare.
-
Cover the pot and begin timing when the water returns to the boil. The jars must be boiled, “processed”, for 5 to 10 minutes, depending upon the size of jar used.
-
Meanwhile, place a baking sheet on a level surface and line it with a clean kitchen towel.
-
Once the time has passed, carefully remove each jar and place it on to the towel-lined baking sheet. Leave about an inch separating the jars.
-
Once all the jars have been processed and placed on the baking sheet, remove the baking sheet & jars to a place that is draft-free and where they will remain undisturbed for 24 hours.
-
After 24 hours have passed, check each jar to insure it’s sealed and then store on a shelf in a cool, dark place, where it will stay fresh for months.
* * *
Notes
Once opened, the preserves should be refrigerated and fully used within a month.
Bartolini kitchens
This site contains product affiliate links. We may receive a commission if you make a purchase after clicking on one of these links.
